
Installing Ubuntu on Windows & Cloning your WordPress website to it
I use WSL to develop locally. I have a few local websites for testing purposes and one of them that I need to refresh regularly is a copy of my live website.
I made this guide (like many of my guides) to assist myself in the future so I can just follow the steps. Maybe you’ll find it useful too.
Table of Contents
Install WSL
From powershell, run:
wsl --installIt should install Ubuntu for you by default and then ask you to choose a username and password. Once done, you’ll be in Ubuntu.
How to exit and re-enter Ubuntu on WSL
To exit you can just type ‘exit’ at any point.
To get back in, you can type ‘wsl’ from powershell, or type wsl in Windows. I pin that to my taskbar.
Install the web stuff
From inside Ubuntu:
sudo add-apt-repository ppa:ondrej/php
sudo apt-get update
sudo apt-get install nginx php8.3 redis tmux curl wget php8.3-fpm php8.3-cli php8.3-curl php8.3-gd php8.3-intl php8.3-mysql php8.3-mbstring php8.3-zip php8.3-xml unzip php8.3-soap php8.3-redis
sudo apt-get install mariadb-server
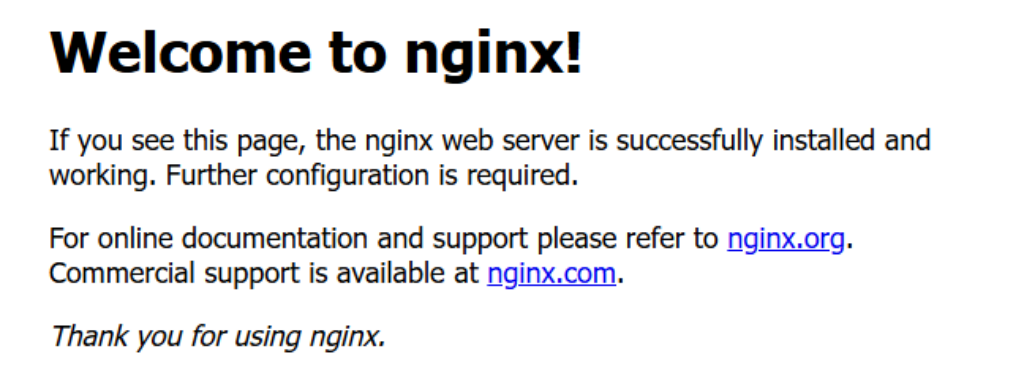
Test your new web page
If you type localhost and hit enter into the address bar of any browser from windows, you should now see a basic website:
SSH to your live website
I’m cloning one of my live websites to my local, so we need to ensure we can SSH onto the live server from our WSL Ubuntu.
ssh root@your_server_ip_addressIf you’re just using username & password for SSH access, you’ll be asked for the username and password at this point and can skip the rest of this section.
I use SSH keys, so running the above will just ask me if I’m sure I trust the destination IP address and will then connect.
If you want to use SSH keys too, copy your existing SSH keys to /home/your_user/.ssh/id_rsa and id_rsa.pub. If you don’t have keys yet, you can generate them:
ssh-keygen
cat /root/.ssh/id_rsa.pub
From the second command above, you’ll see your public key. On your live server, insert that key into the /root/.ssh/authorized_keys file (just put it on a new line).
If you’re not logging onto your remote as root, change the folder to /home/{username}/.ssh/authorized_keys
Create a SQL backup
On your server, create a SQL backup (don’t use a plugin, backups are so slow that way!):
mysqldump -uDBUSER -p DBNAME > '/root/dump.sql'
Transfer your files
Web files typically go into /var/www/ so create a new folder in there for your website files.
sudo mkdir /var/www/superspeedy
sudo chown your_user:www-data /var/www/superspeedyNote: replace your_user with your local Ubuntu user and replace /var/www/superspeedy with the folder name you want for your cloned website.
Now use rsync to transfer all the files over. Rsync is solid – it’s what Dropbox was initially built upon. The format is like this:
rsync -chavzP --stats root@serverip:/var/www/website_folder/ /var/www/local_website_folderReplace root if you’re using a different username, choose whatever folders you have remotely and locally and put your server IP address in there too. Run this and it copies all the web files.
Copy your dump.sql file too.
rsync -chavzP --stats root@sourceip:/root/dump.sql /home/your_ubuntu_user/dump.sql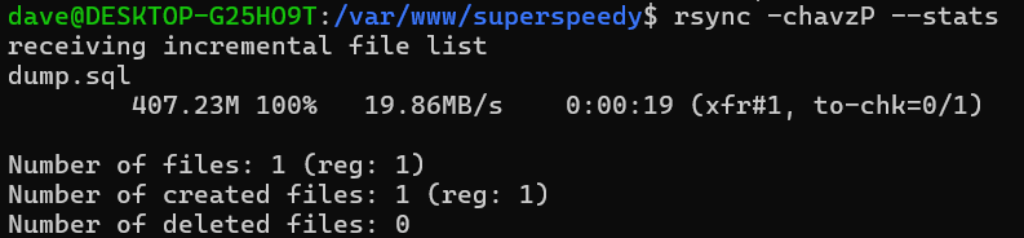
Fix your file permissions
Your files will be owned by you, not by the web user. The web user is normally www-data, so fix the file permissions with:
sudo chown www-data:www-data /var/www/yoursite/ -RRestore your database
First, you need to create a database, then you can load everything into it from your dump.sql. Log into mysql by typing:
mysql --user="your_user" -pcreate database dbname;
CREATE USER 'username'@'localhost' IDENTIFIED BY 'CHOOSEASTRONGPASSWORD';
GRANT ALL PRIVILEGES ON dbname.* TO 'username'@'localhost';
Exit mysql (type exit) and run the restore from the command line:
mysql --user="username" dbname < /home/your_user/dump.sqlReplace username with your SQL user, dbname with the DB name and your_user with your Ubuntu user.
If this fails with a collation error, it probably means your remote has MySQL8 and your local has MariaDB.
There is an equivalent collation you can use in MariaDB, so alter your dump.sql file like this:
sed -i 's/utf8mb4_0900_ai_ci/utf8mb4_unicode_520_ci/g' /home/your_user/dump.sqlUpdate your wp-config.php
If you’re on Gridpane, or if your hosts have good security practices, you probably didn’t get a copy of your wp-config.php file since it should be stored at the level above your web folder.
Anyway, I recommend you use a fresh wp-config.php to avoid conflicts. Copy your
Configure Nginx
The final stage is to tell nginx where your website is located. In my case, the files are in /var/www/superspeedy/htdocs
Create a local SSL certificate
sudo openssl req -x509 -nodes -days 365 -newkey rsa:2048 -keyout /etc/ssl/private/nginx-selfsigned.key -out /etc/ssl/certs/nginx-selfsigned.crtThen create a file at /etc/nginx/sites-available/yoursite.conf
server {
    listen 80;
    server_name localhost;
    return 301 https://$server_name$request_uri;
}

server {
    listen 443 ssl http2;
    server_name localhost;

    ssl_certificate /etc/ssl/certs/nginx-selfsigned.crt;
    ssl_certificate_key /etc/ssl/private/nginx-selfsigned.key;
    ssl_protocols TLSv1.2 TLSv1.3;
    ssl_prefer_server_ciphers on;
    ssl_ciphers ECDHE-ECDSA-AES128-GCM-SHA256:ECDHE-RSA-AES128-GCM-SHA256:ECDHE-ECDSA-AES256-GCM-SHA384:ECDHE-RSA-AES256-GCM-SHA384:ECDHE-ECDSA-CHACHA20-POLY1305:ECDHE-RSA-CHACHA20-POLY1305:DHE-RSA-AES128-GCM-SHA256:DHE-RSA-AES256-GCM-SHA384;

    root /var/www/superspeedy/htdocs;
    index index.php index.html index.htm;

    location / {
        try_files $uri $uri/ /index.php?$args;
    }

    location ~ \.php$ {
        fastcgi_pass unix:/var/run/php/php7.4-fpm.sock;
        fastcgi_index index.php;
        include fastcgi_params;
        fastcgi_param SCRIPT_FILENAME $document_root$fastcgi_script_name;
    }

    location = /favicon.ico {
        log_not_found off;
        access_log off;
    }

    location = /robots.txt {
        allow all;
        log_not_found off;
        access_log off;
    }

    location ~* \.(js|css|png|jpg|jpeg|gif|ico)$ {
        expires max;
        log_not_found off;
    }

    # Deny access to hidden files
    location ~ /\. {
        deny all;
    }

    # Deny access to wp-config.php file
    location = /wp-config.php {
        deny all;
    }
}
The only thing to change above is the folder for your files – change the following line to point to your own files.
root /var/www/superspeedy/htdocs;
Now create a link to your config file:
sudo ln -s /etc/nginx/sites-available/superspeedy.conf /etc/nginx/sites-enabled/Replace superspeedy.conf with whatever name you gave your nginx site config file.
Delete the default nginx config file with:
sudo rm /etc/nginx/sites-available/defaultYou can test your config before restarting Nginx.
sudo nginx -t
sudo service nginx restart
Search & Replace your live domain with localhost
cd ~
git clone https://github.com/interconnectit/Search-Replace-DB.git
cd Search-Replace-DB/
Installing multiple websites
You can have multiple websites installed. You can use ports to do this, e.g. localhost:81, localhost:82 etc, or you can use folders localhost/website1, or even subdomains.
If you use subfolders, this is the easiest way since you don’t need to edit nginx configs at all. It’s messier that way however.
If you use ports, it restricts the use of SSL on your local since that has to be port 443.
You should use subdomains – in addition to creating an nginx config file for the subdomain you need to update your C:\Windows\System32\drivers\etc\hosts file and include entries like:
127.0.0.1 website1.localhost
127.0.0.1 website2.localhost
- Create a new web folder somewhere /var/www/yoursite
- Create a new nginx config file
- Edit your hosts file
- Install WordPress or clone or restore
Summary
Having your live site on your local is great and it’s not too tricky using WSL.


You’re installing PHP-FPM 8.3, but the config is set to use fastcgi_pass unix:/var/run/php/php7.4-fpm.sock; That will give 503 error. Great article. For people stuck at search& replace, mv ~/Search-Replace-DB /var/www/public_html/srdb && cd /var/www/**your home url**/srdb/ then go to localhost/srdb and fill your database details, then change domain at the top
Thank you for this fix. I’m using Gridpane these days, hence I have not updated this stack building guide, but this will be very useful info for others.