The WooCommerce product editor uses its own editor interface – not the new WordPress Gutenberg interface.
To add a new external image to a product, click Edit Product as you normally would then scroll to where your featured image would normally be. You’ll see something like this:
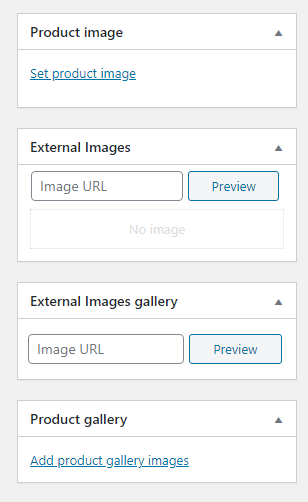
In the image above, you can see the normal ‘Set product image’ link. Ignore that. Instead paste your featured image URL into the Image URL box under ‘External Image’. Click ‘Preview’ and it will load a preview of the image and save the image against the product when you save the product.
Adding Gallery Images
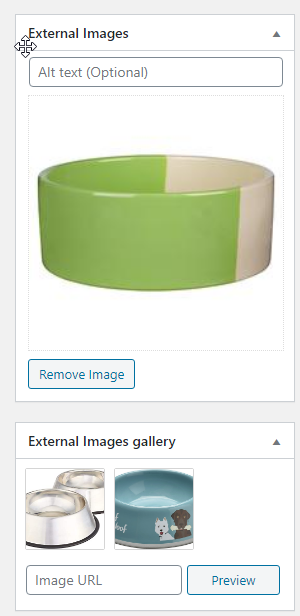
For each image in the gallery, enter the external image URL into the Image URL box under the ‘External Images Gallery’ metabox. Click ‘Preview’ and it will add that item to the gallery.
Deleting Images
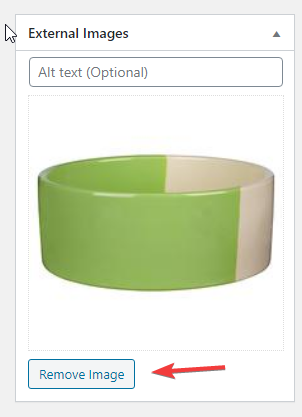
If you wish to delete the featured external image, click ‘Remove Image’ under the ‘External Images’ section.
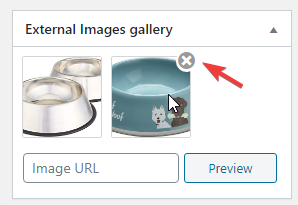
To delete gallery images, hover over each image and click the X button that appears.
